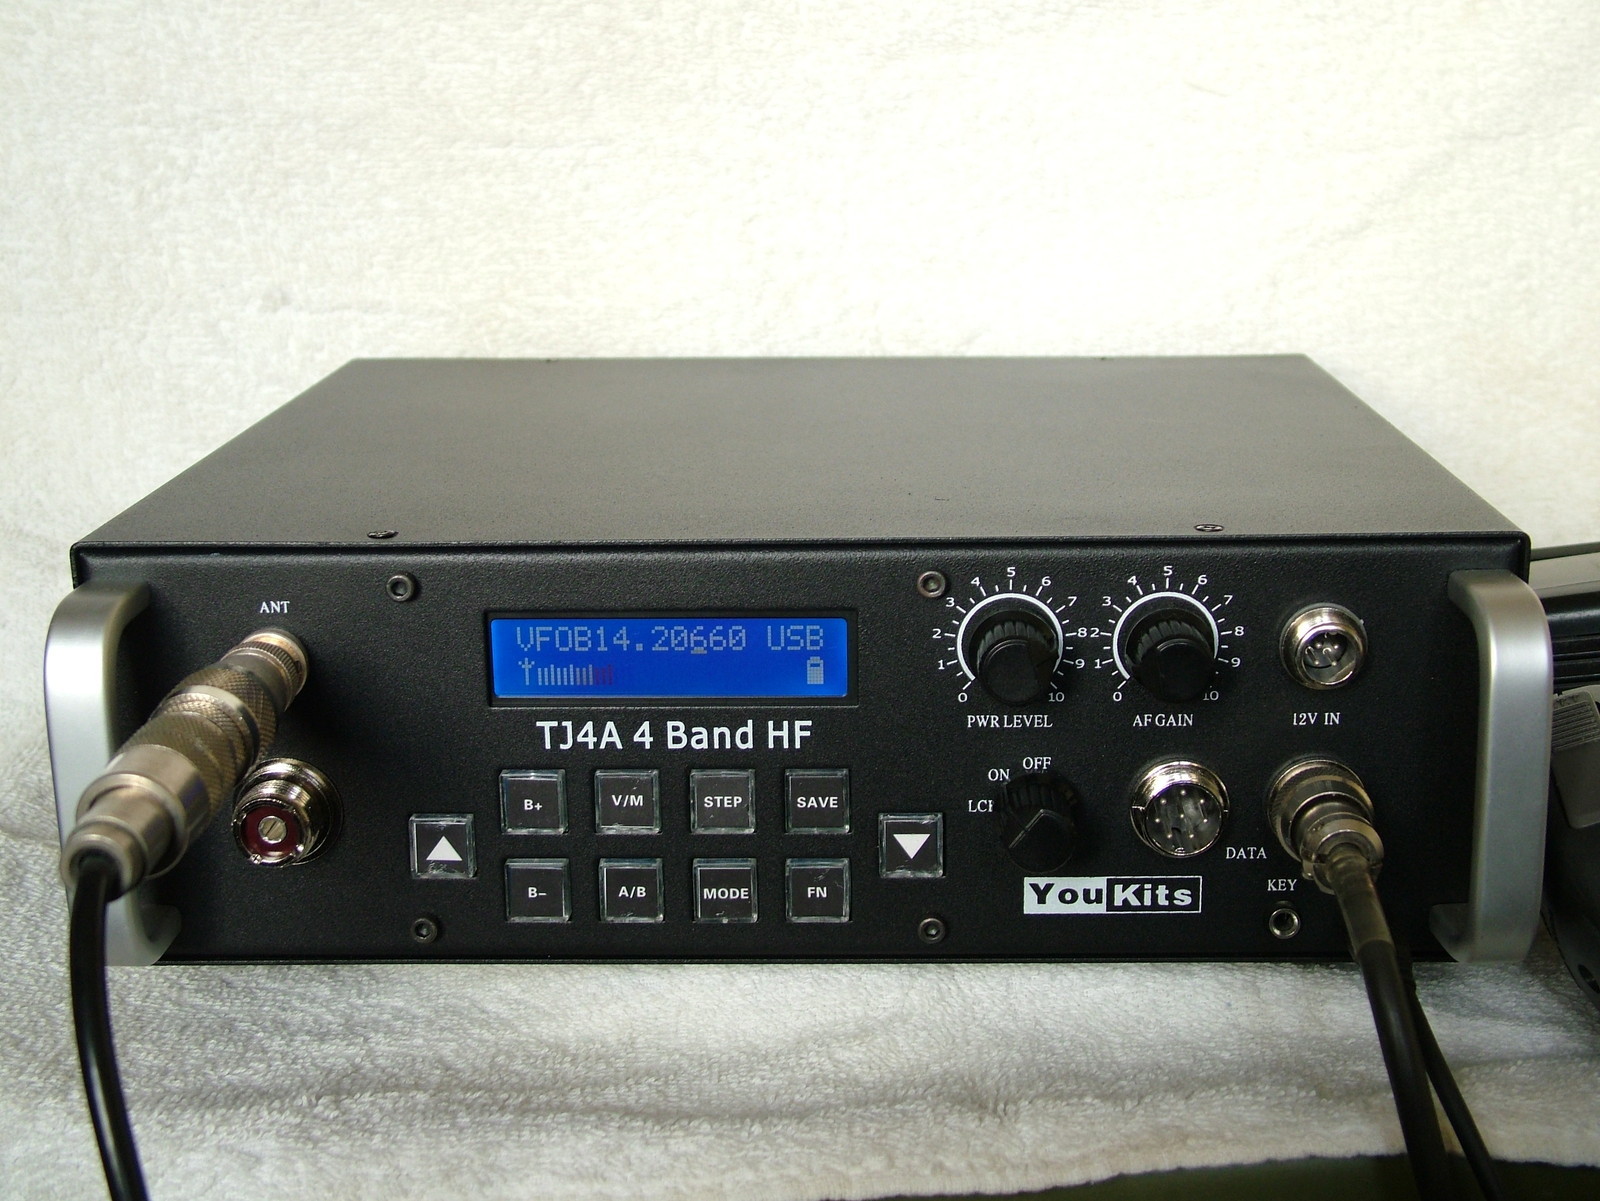
Friday, Dec. 7, 2012 — With apologies to Spike Jones, I’ve chosen to modify this holiday ditty to introduce my Christmas toy … yes, a little early, but perhaps that’s because Santa knows I’ve been such a good boy this year. Well, let’s hope the Old Man can’t read minds, hi hi.

I have been watching YouKits, the Chinese company that’s selling kit and assembled ham gear and ham-related equipment. Their HB1A is now marketed by Ten Tec as a two-band QRP rig. It received good reviews in QST, a fact that YouKits is quite proud of.
YouKits kits aren’t exactly Heathkits; they use surface mounted parts, most of which they mount for you. The builder is left to do quite a bit of work still, requiring some delicate soldering and good eyesight. Anyway, a couple of weeks ago I was watching an auction for a factory assembled TJ4A, a 4 band QRP (20 watts) transceiver. I checked the factory price (plus shipping) and decided to see where the price went at the auction’s close. I ended up winning the auction, paying just about the price new on the website anyway!

The transceiver arrived in short order from China; it was here in 4 working days, which is some of the fastest shipping from the Orient I’ve had. However, I was NOT impressed with their packing job. The transceiver was wrapped in one layer of large bubble bubble wrap, then put in a box that was undersize — the box had a distinct bulge top and bottom. I was very concerned when I realized it was my new TJ4A, and that it was sent that way from China. While the package didn’t look beaten up, I wondered if it was damaged in transit.
YouKits has a reputation for using steel cases on their gear, and I can attest to the strength of the case of the TJ4A. After seeing how heavily built the case is, I’m convinced now it didn’t need the single layer of bubble wrap — it would have taken something heavy to do any damage to the transceiver’s case. The real vulnerability of the rig would be the front panel; the handles on the front help protect it, and in transit, they served exactly that purpose. The rig arrived without a dent or scratch; but it did have a rattle.
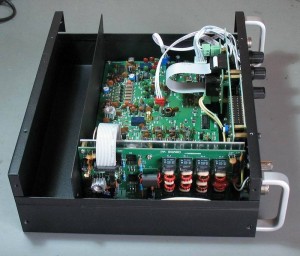
It’s disconcerting to pick up your new package containing a new radio and you hear something rattling around inside the radio. Not good. I had to find out what was going on inside my new TJ4A, so I removed the top half of the case. The rattle turned out to be a mounting screw for the PA board; the main board mounts on stand-offs on the bottom of the case; the PA stands at at 90 degree angle and is mounted on the left side of the case (looking from the front). One of the screws that attached one end of the PA board to a standoff vibrated loose and was bouncing around the case. I found the screw and secured the PA board.
The TJ4A is called a “backpack radio” because it has a batter compartment, and you could conceivably mount an antenna on the front-facing SO-239 or BNC connectors. All the radio’s connections are on the front panel. The power connector is a unique proprietary connector that resembles a scaled-down 4-pin mic connector. Never seen anything like it. The first mod I would make would be to put a more standard power socket at the rear or side of the rig, but I’m getting ahead of myself.
Today I gathered the parts to make a power cable. The rig’s maximum power is 20 watts, so I bought appropriate-sized power cord and an automotive blade-type fuse holder. The real fun was trying to solder the wires to the little 4 pin plug with two hands while needing to have five. With the help of a little shadetree engineering and I had the soldering done.
I just finished my preliminary test of the rig to make sure it wasn’t damaged in shipment. It powered on as it should, and all functions seem to work. It’s a hot little receiver, too. Because its a “backpack” radio, it does not have a tuning knob; it uses up/down buttons. I miss the tuning knob, but I will adapt.
This rig’s four transmitting bands are 160, 80, 40 and 20. I would have preferring 15 or 10 over 160, but when you buy it built, you gets what you gets. The rig was outfitted with the full 1.6 to 30 MHz receive, which was an upgrade. The rig covers SSB/CW/AM.
I haven’t really done anything with the rig, so a real review of it will have to wait. I do NOT expect to car the thing around in a back pack anything soon, however. I suppose the super-strong case is necessary for anything you’re going to market as a “backpack” anything. The case is significantly larger than it needs to be; it has plenty of room for batteries in a separate compartment. There’s a LOT of empty space inside the case.
You’ll note the rig has two mic jacks; one is for voice (compatible with Kenwood 8-pin mics, with one included with the radio), the second for data. There’s no computer control port on this rig, but it would be simple to hook it up for use with a Signalink USB interface, which I plan to do.
Why? Because I’m thinking of using the rig to run digital in our library, which is our gather place during the winter thanks to a wood stove in that room. I have a random wire up now with a tuner, but I need to improve it a bit and raise it up. The tuner is a very early MFJ, and I have a later model that I know works properly. I would like to sit by the wood stove and make digital QSOs while watching TV and spending time with the family. Sounds like a plan.
Time to run for now. Need to get some insulators and some wire, winter’s coming!
dit dit
